
So my husband went to watch the World Cup games with a buddy of his, my oldest went over to a friend's and my youngest wanted to hang out in her room - yeah, time to myself!
I completed a bunch of little, nagging items off my three page, single-spaced To Do list. I will post those pictures eventually. This is all about my bulletin board. I like to have pretty things around me. I like to drink out of a nice cup (unless it's a Gator game cup, then I am good with it!), I like to pay bills on an organized, well-planned desk, you get the idea. So when I went looking for a bulletin board for my craft room, I couldn't find one I liked (or that was reasonably priced).

So I found this cheap inexpensive frame, I think at Jo-Ann's (plus coupon). It's not wood but it looks good enough.

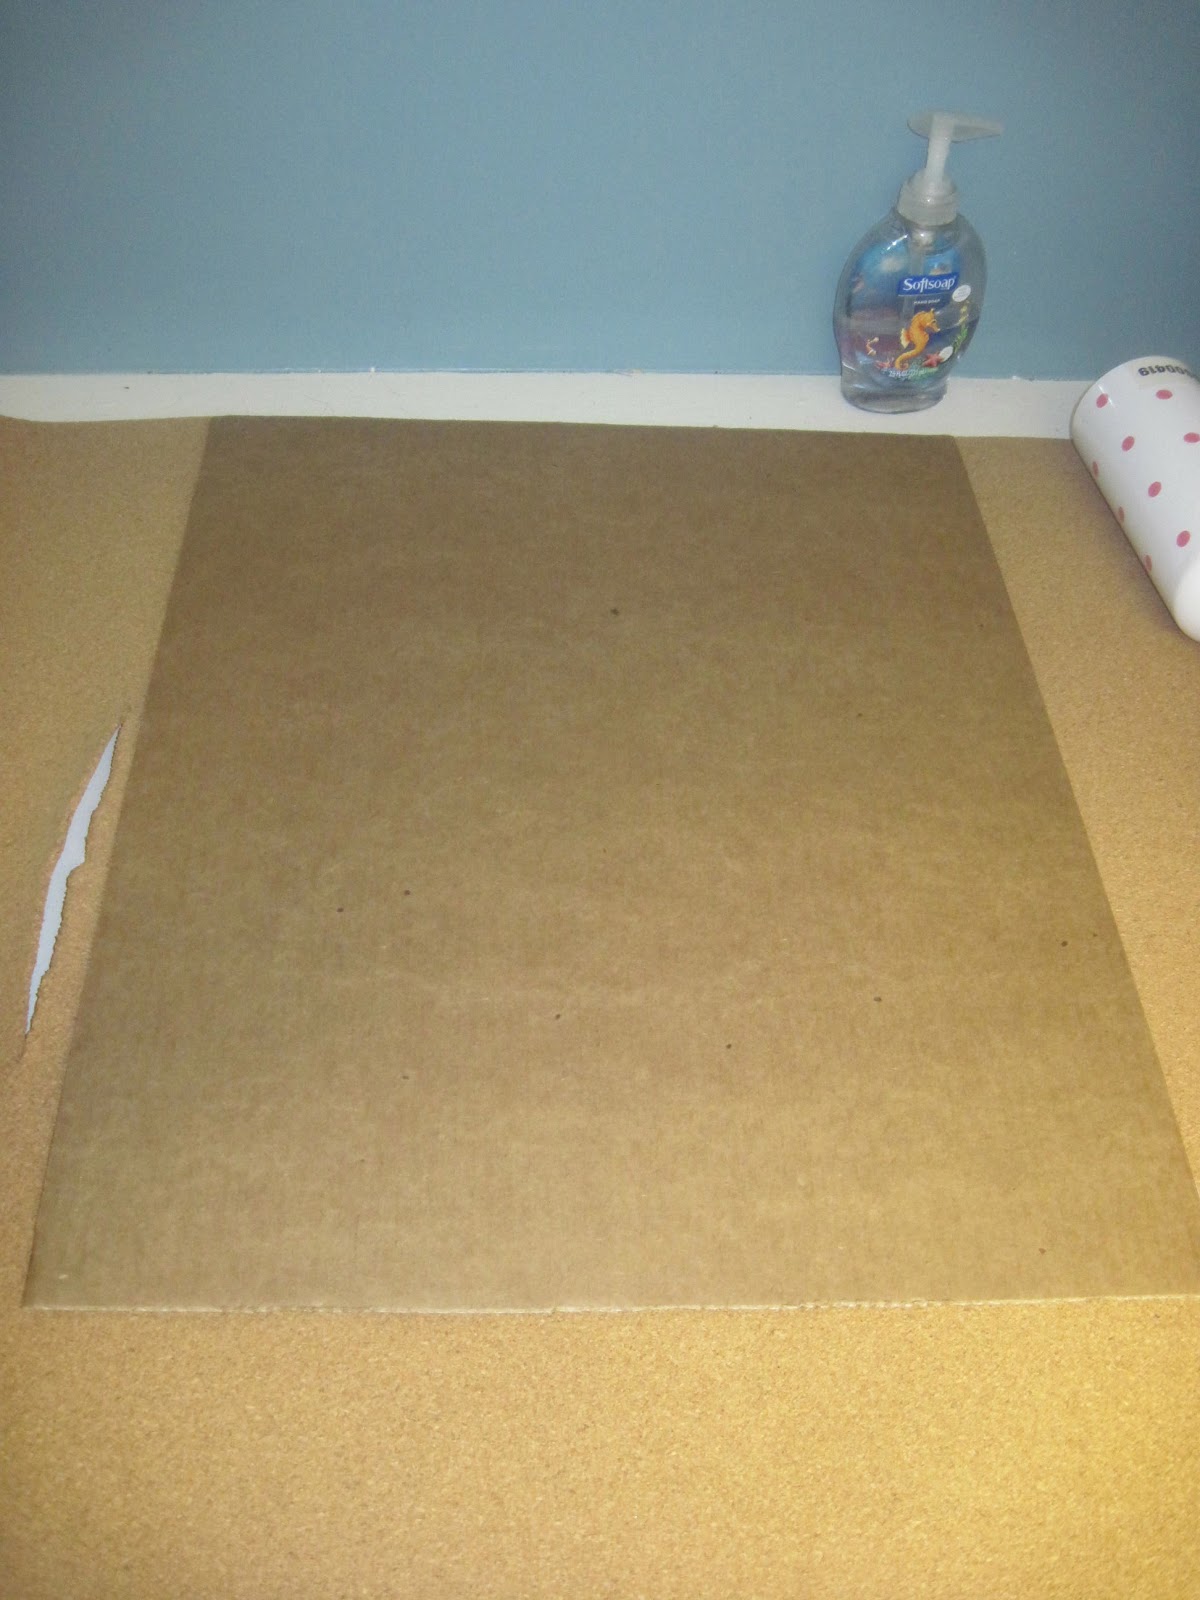
I already had this roll of cork board from the Board Dudes - bought awhile ago at JoAnns for another non-attempted project. (Note: when unrolling cork board, do it carefully because when I put a little pressure on it, it immediately cracked!)

I also had this hand-dandy spray can of multi-purpose adhesive (I actually have 2 cans of multi-purpose adhesive!). See my desire for organization. I found duplicates of several different items when I finally cleaned out cupboards!
 |
| Is this blurry or are my eyes really going? Must have inhaled too much spray adhesive! Sorry for that!! |

Here's my completed project. I think it looks great! I have to say, I am proud of it and it only took about 15 minutes! What took me sooooooo long to do it??
Now, I had another brilliant idea for a matching dry erase board but that one wasn't turning out as well . . . but that will be for another post!
 |
| I thought it would be a little difficult to read but not this hard! On to Plan B! |
No comments:
Post a Comment