So, here starts the 10 Days of Maselli Christmas! I will start in our family room. It's attached to the kitchen and as most rooms in our home, needs a Christmas tree.
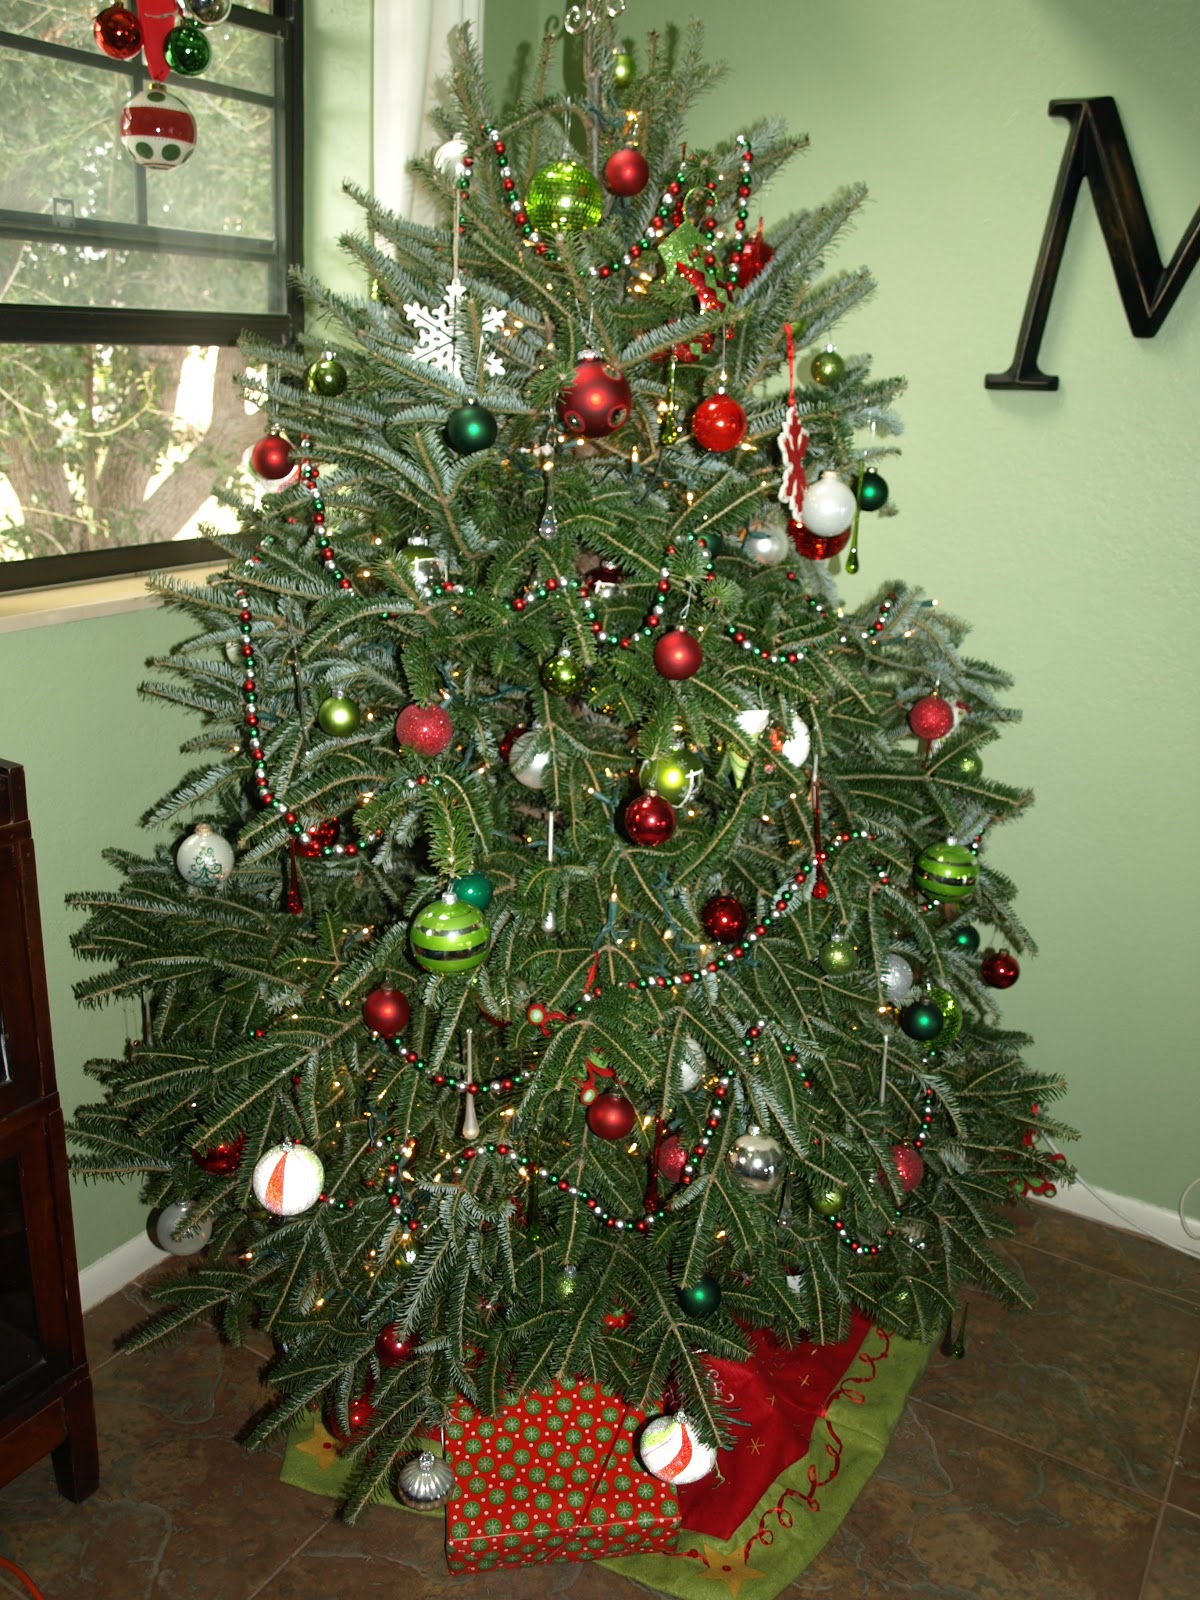
It's small, only about 6 1/2' but smells delish and looks perfect in that corner!! In this part of the house, I love red, silver and lime green decorations so I use those colors for ornaments on the tree.


This is a handprint wreath my youngest daughter made for me in preschool. I love it when crafts are made that are quality and something you can really hang onto for years to come.

This is one of my favorite decs. I tie a big red ribbon onto the curtain rod and hang a beautiful hand-painted ornament with some solid colors as well. Yes, you can't close the curtains but that's ok because it looks great! I do this in both windows and it looks pretty from the front of the house too.

Just add a matching ornament on a bed of "snow", hang a metal sign and add a fun ribbon to jazz up a wreath and light the best smelling Peppermint candles ever! Put them on red mercury glass candleholders and Voila! Looks great!
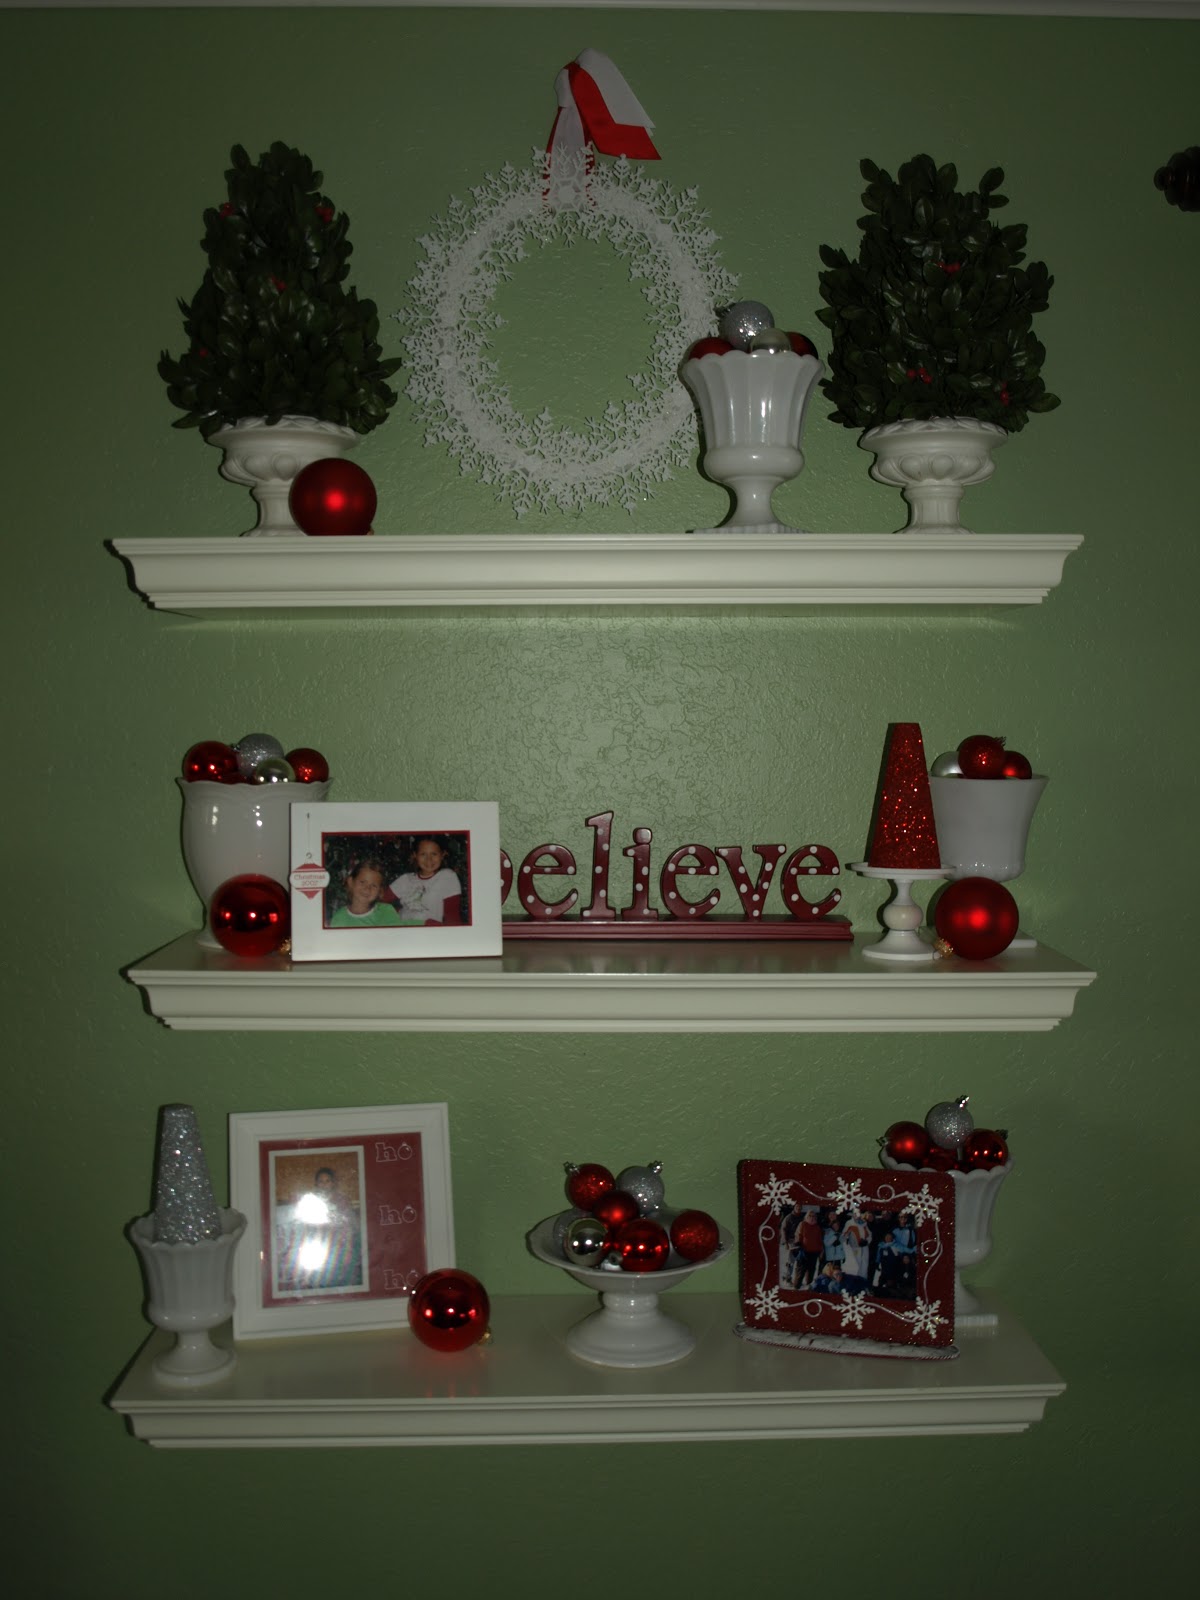
LUURVE my three Pottery Barn ledges! This year, I went with inspiration from Pinterest and made it all red, white and silver. I bought inexpensive ornaments in the dollar section of Target and filled up my milk glass and white containers ( I cheated with crumbled up paper in the bottom to take up some room). I then glittered two styrofoam trees with silver on one and red on another. If you do it, use Martha Stewart glitter. It costs a little more but you use a lot less. She has the best colors and quality! Thanks Martha for making me want to glitter everything!! I put the red glitter tree on a brass candleholder I bought at Goodwill for change and spray painted a glossy white. The other piece I made is the snowflake wreath hanging above all the ledges. That was a trial and error. The Pin I got the wreath idea from said to use a styrofoam wreath. I found the snowflakes at the Dollar Tree (the dollar store that actually charges a dollar for their merch; not like $4 at the fake dollar store!) Once I put it together, I didn't like the looks of it. So back to square one (or circle one in this case - I know, lame joke!) I found grapevine wreaths at the Dollar Tree (yes, they were a dollar each!) and spray-painted them white. Added the snowflakes and STILL didn't like it. I have a lot of time already invested in this Dollar Tree wreath! I then bought some white grosgain ribbon, wrapped the grapevine, hot-glued the snowflakes on and finally had something I liked! I added a red ribbon and then topped it with a white one. Looks good!

I actually put a coat of white spray paint on the snowflakes because I didn't want them sparkly (which is the way they came from the Dollar Tree). I liked the way they turned out because it added a layer of texture and made them look more snowflaky (is that a word??)!


On my chandelier, I add a green bead garland and hang some glass ornaments.

Add a jingle bell wreath above the door. Why above the door, you ask? The wreath use to hang on the door but it was annoying to hear it jingle ALL the time. I know I sound like an old lady complaining but the older I get, the more quiet I like!!

Hang your holiday aprons on the side of your armoire for a splash of color and this room is ready for the holidays!!
More of our home to share but that's for another post!
No comments:
Post a Comment