Tuesday, June 19, 2012

There's a Light at the End of the Tunnel . . .

And there's a coffered ceiling and a pediment there!!

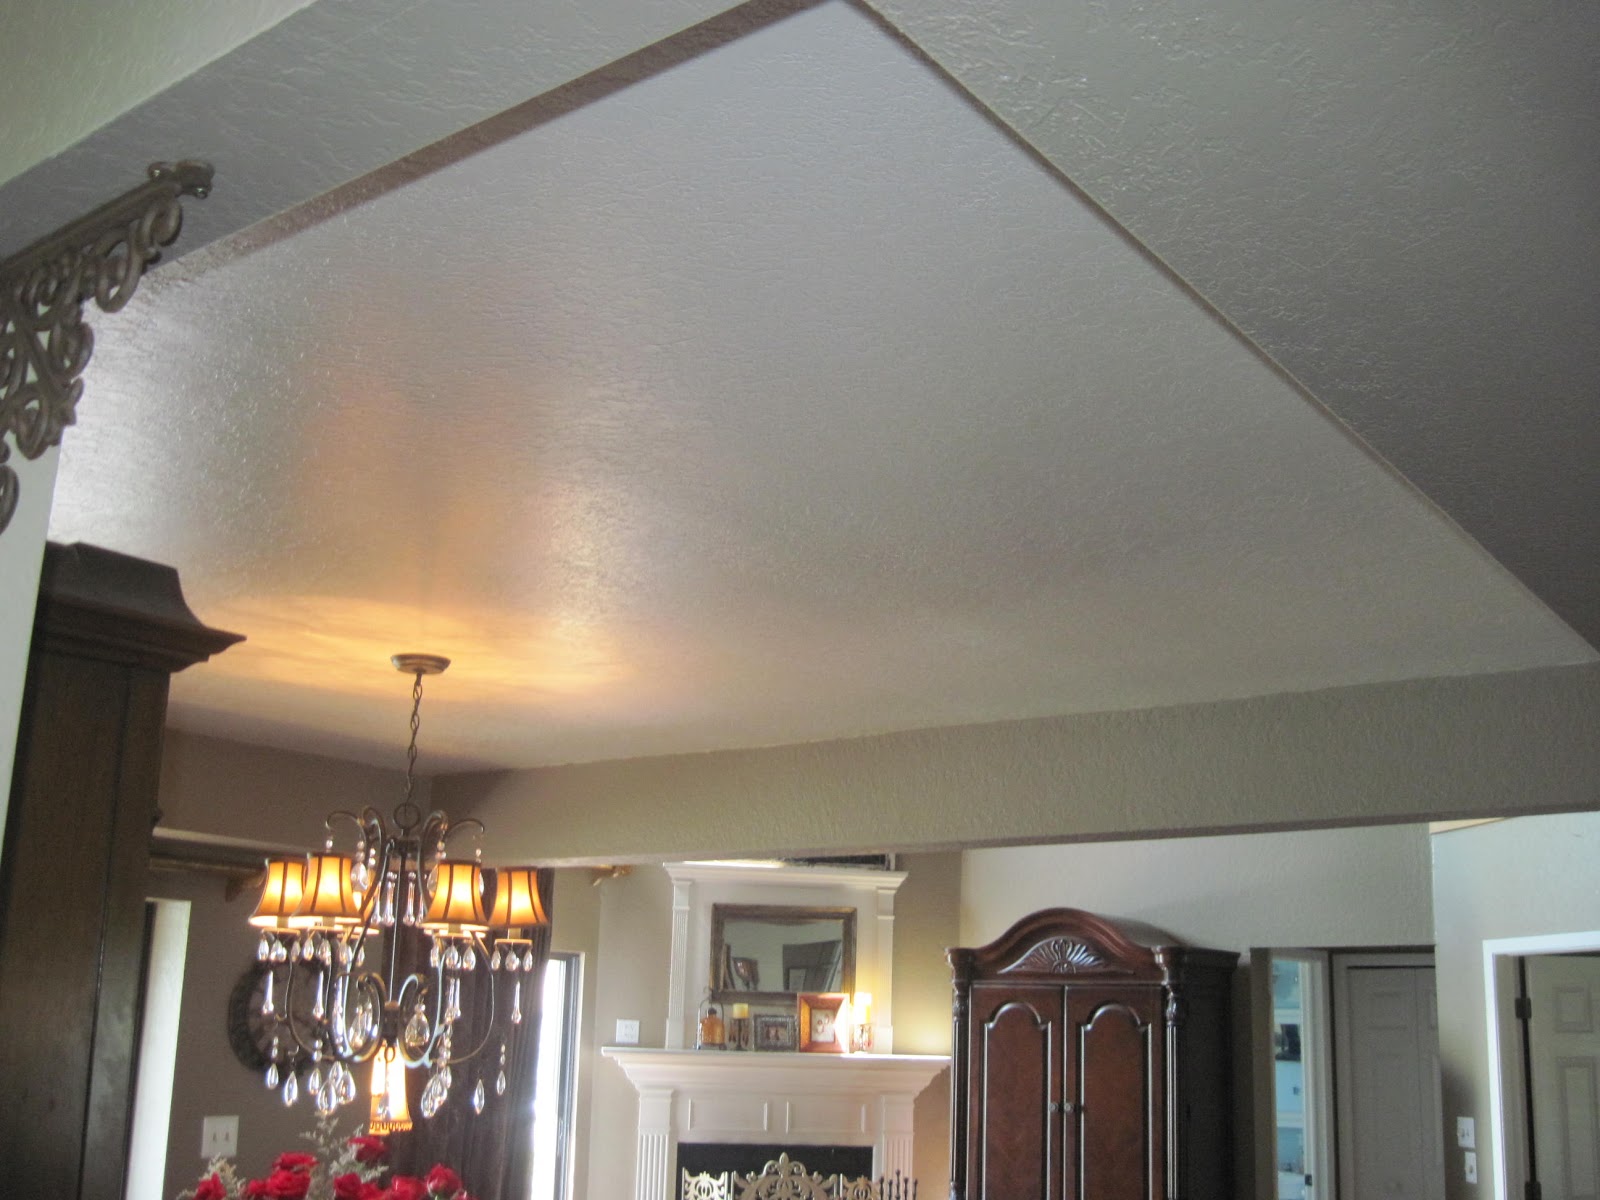
Remember this naked as a blue jay ceiling?
BORING!

And this huge pile of wood? 


And in the beginning . . .


lead to this but still needing more stain.


To the grand reveal!!
I just LOVE it!
(And yes, to those of you with OCD like me,
the white A/C vent is being replaced with one that matches
the color of the stain!!)
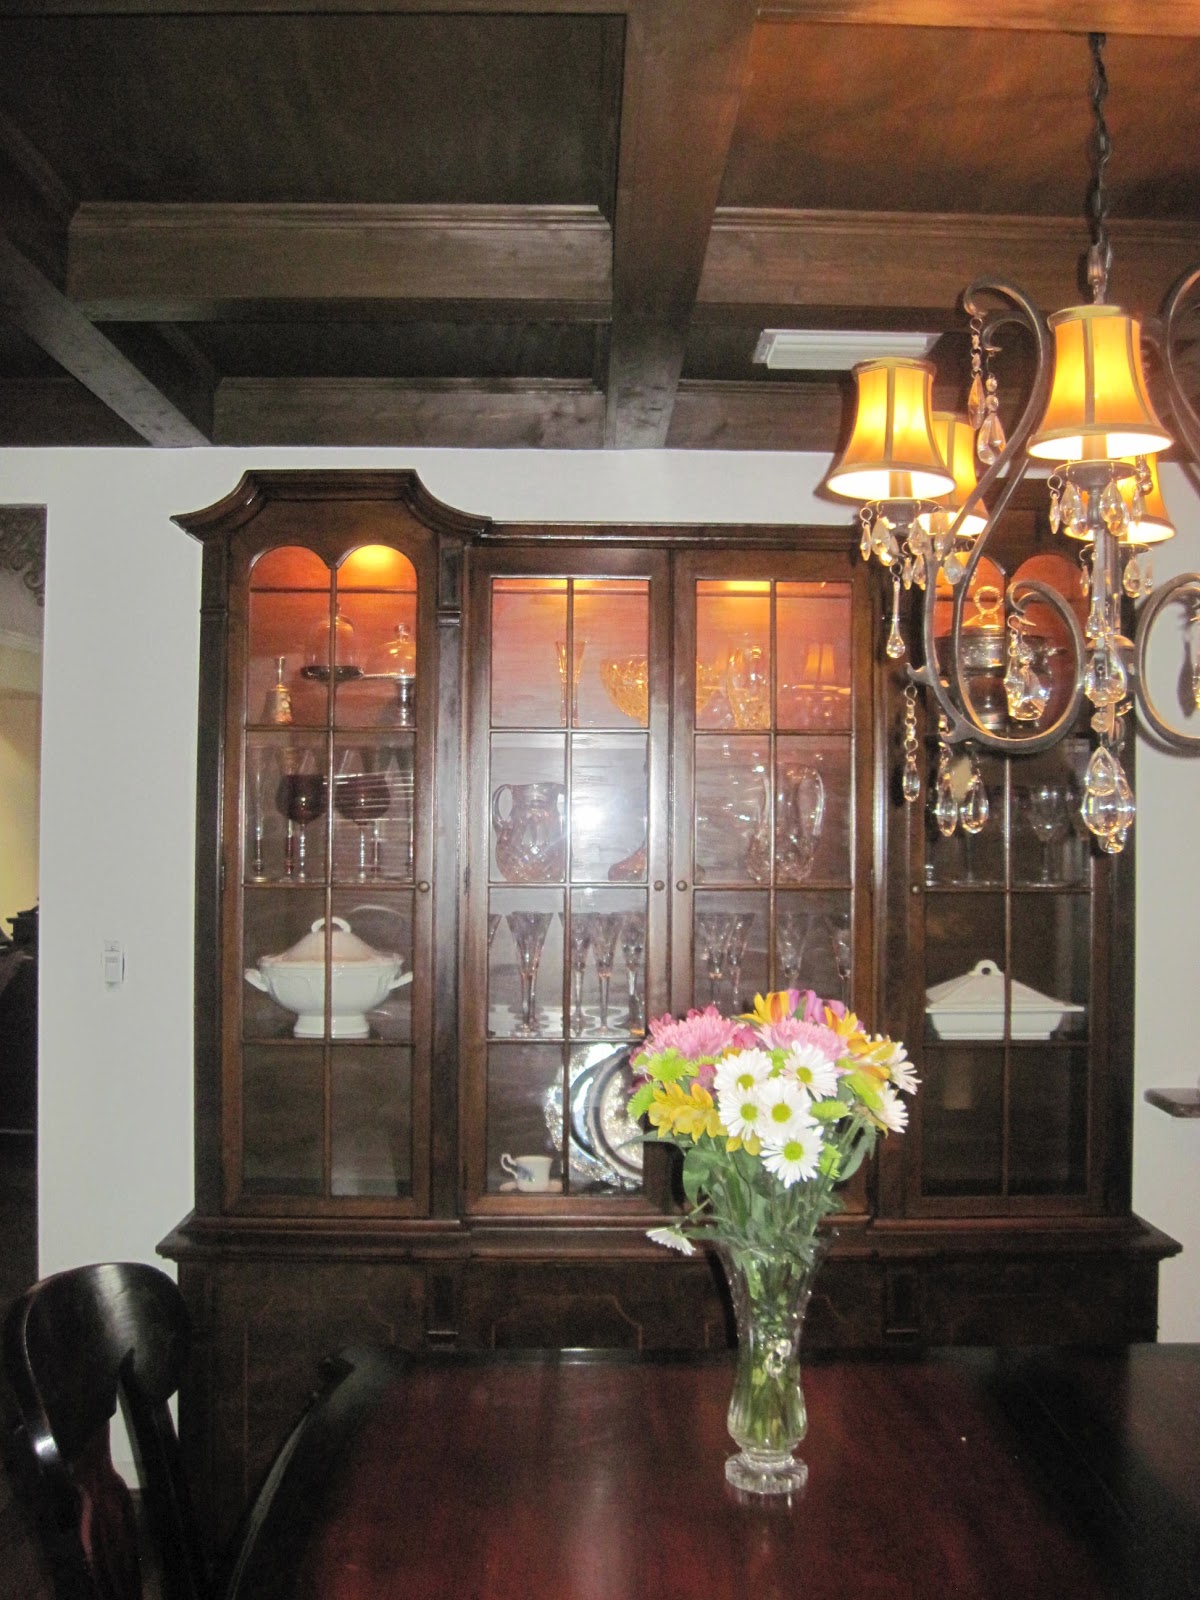

The flowers are courtesy of Nana and Papa
for the girls dance recital this past weekend.


It does still need a coat of polyurethane and I will put that on myself. Remember, I can get more projects done if I help some and I am all for that. Plus, all the past week's activities kept me so busy, I didn't follow my Weight Watchers plan, ate Taco Bell one day (Not nearly as good as I remembered though. Must be because I only used to eat there at 3 am after a LONG night out!!) and still lost 2.8 pounds! I will take it and bring on that polyurethane!

The other major project started with this . . . 


And of course the inspiration piece which finally
got here thanks to Fed Ex and a lot of bubble wrap
(no packaging which made me nervous!).


And voila!


We decided for the time being, to not add the ugly, cheap white doors back.
Why, you ask? I think that answer is obvious.
We are looking for new doors, I am thinking French without the panes, 
maybe a frosted glass or bubbled, so the light gets through but not
that pink chair, or any mess on our desks!

Something like this . . . 
Picture it with the darker stain, no panes, only 2, and opaque glass.

Now back from dreaming and to my reality - my beautiful pediment -


I think the corbels were a great touch.
They copy the swirly design and give the pediment the extra support
it needs because that bad boy is heavy!
(Please look away from the pink chair! 
I promise, it will be recovered by summer's end!).


Yes, I will also address the other elephant in the room - the stair railings.
They were in the house when we bought it, I have hated them from day one.
I know they belong in a John Hughes film but I cannot afford to replace
them with what I want right now.

Someday, with God as my witness (ok, I am from the South and yes I know, 
that is a tad dramatic but then again, so am I), that I will have
beautiful, black, wrought iron railings in my house, maybe something like this!


I think my GTG (Go-to-Guy) did an outstanding job and he is proud of it as well! I will be doing something to the railings for now, but that will be for another post!

Monday, June 11, 2012

Put a Pin In It . . .


Ok, so I decided I wanted to make a bulletin board for the taking-FOREVER-to-finish playroom turned into my craft room/guest room!! Wow! That is one heckuva title for a basement room! Ironically, I bought the supplies for this probably two months ago. I just didn't get around to making it yet. I have taken on too many different home improvement projects and my attention, not to mention moooola, is all over the place.

So my husband went to watch the World Cup games with a buddy of his, my oldest went over to a friend's and my youngest wanted to hang out in her room - yeah, time to myself!

I completed a bunch of little, nagging items off my three page, single-spaced To Do list. I will post those pictures eventually. This is all about my bulletin board. I like to have pretty things around me. I like to drink out of a nice cup (unless it's a Gator game cup, then I am good with it!), I like to pay bills on an organized, well-planned desk, you get the idea. So when I went looking for a bulletin board for my craft room, I couldn't find one I liked (or that was reasonably priced).


So I found this cheap inexpensive frame, I think at Jo-Ann's (plus coupon). It's not wood but it looks good enough.


I already had this roll of cork board from the Board Dudes - bought awhile ago at JoAnns for another non-attempted project.  (Note: when unrolling cork board, do it carefully because when I put a little pressure on it, it immediately cracked!)


I also had this hand-dandy spray can of multi-purpose adhesive (I actually have 2 cans of multi-purpose adhesive!). See my desire for organization. I found duplicates of several different items when I finally cleaned out cupboards!


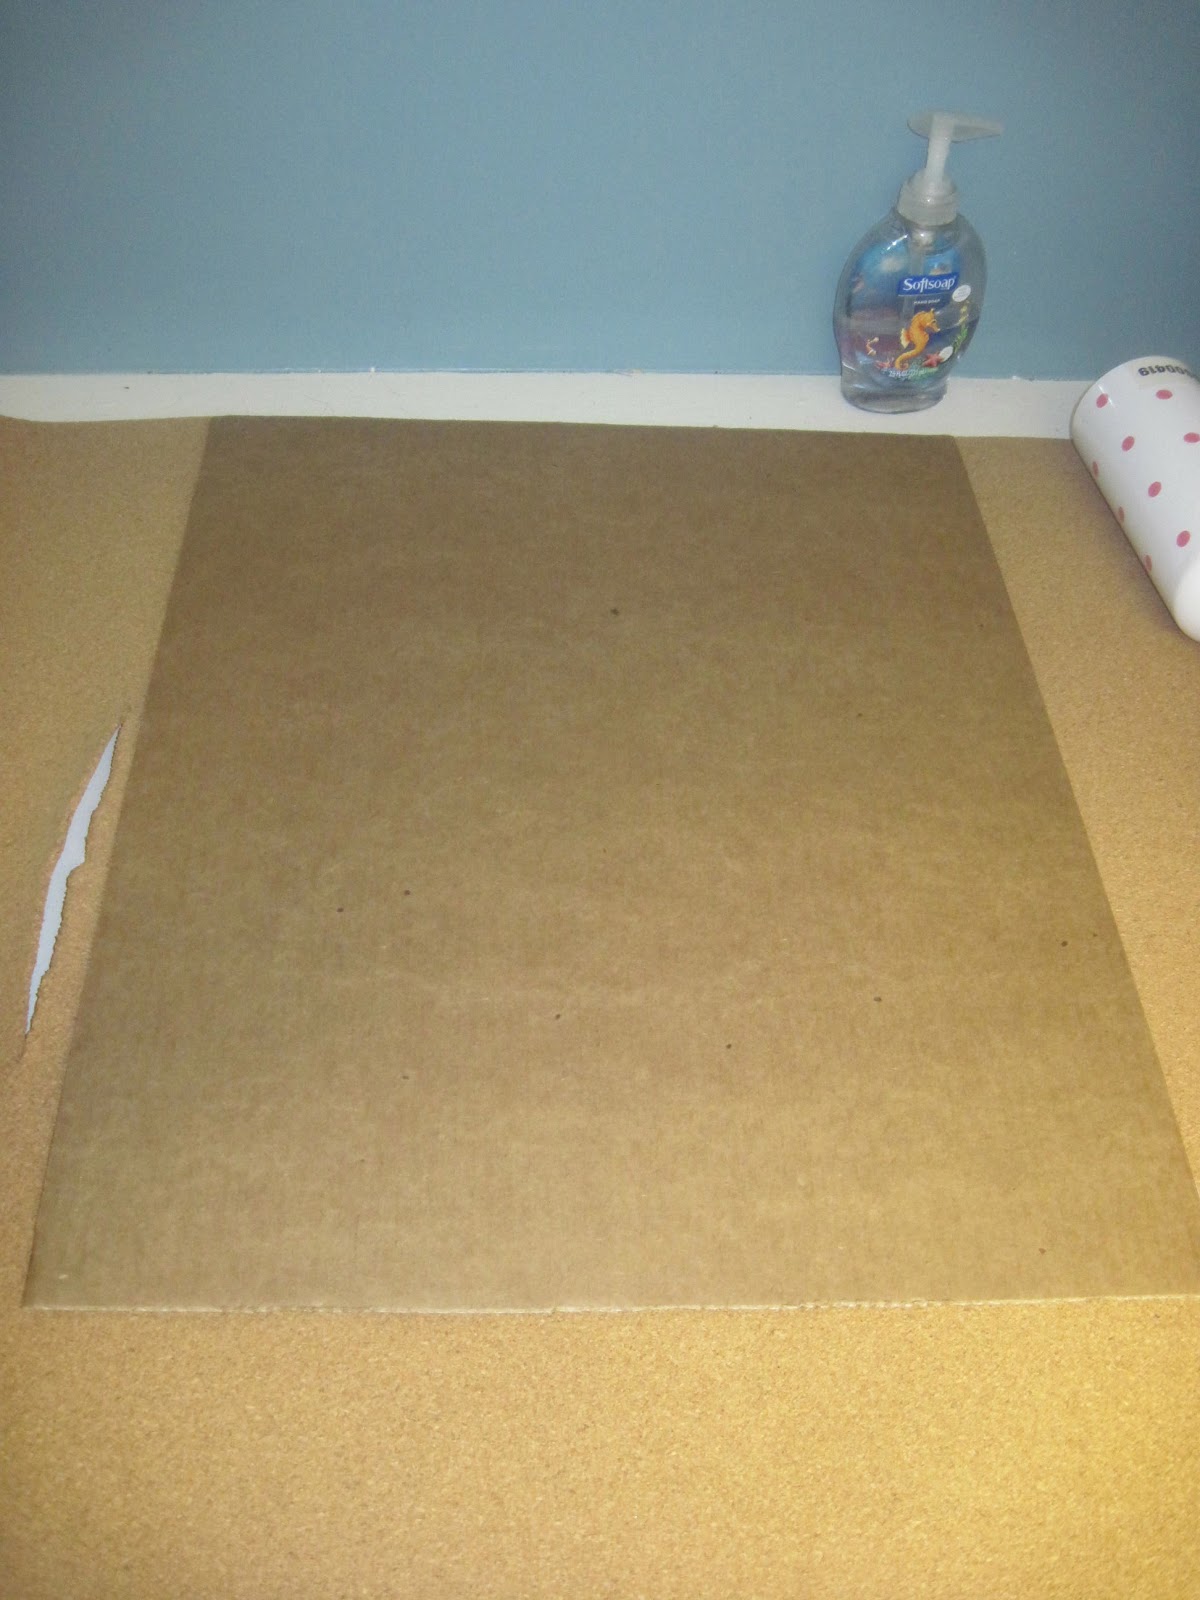
I laid the back of the frame on the cork board and cut the board with my Xacto knife (if you look closely, you can see that tear I was talking about to the left of the board). I actually cut it just a tad shorter on all sides so it would fit in the frame easier. (Note: I covered my finished cork board with fabric. If you don't plan on doing that, and want the cork board visible, don't cut it short or it will show!) After cutting it, I sprayed the back of the frame with the adhesive spray and laid down the cork board, pressing hard to get a good stick. I wanted my cork board to be nice and thick, so I actually cut another layer of cork board, sprayed it and attached it to my first layer of cork board. This allowed the pins to go all the way in and hold a little better.

Is this blurry or are my eyes really going?
Must have inhaled too much spray adhesive!
Sorry for that!!
Next, I cut the fabric about 2 inches wider on all sides of the frame. I stapled one side first, then stapled the opposite side next. This is what you do when recovering furniture so you know you get a nice, even pull. Then I repeated on the other two sides. I folded in the corners (which you could see better if it wasn't so blurry - this I why I don't really do tutorials!).


Here's my completed project. I think it looks great! I have to say, I am proud of it and it only took about 15 minutes! What took me sooooooo long to do it??

Now, I had another brilliant idea for a matching dry erase board but that one wasn't turning out as well . . . but that will be for another post!

I thought it would be a little difficult to read but not this hard!
On to Plan B!

Saturday, June 9, 2012

Are You Kidding Me?

Not my real kitchen but it might as well be!
As a mom, I am sure you have had the same experience as me - wash all the dinner dishes, wipe down the counters and go to bed. The kitchen is clean and my final task for the night is done. Then I wake up with a smile on my face, head downstairs to start breakfast for my little darlings (uhhh, this part is fiction!) and turn on the lights to find a mess - a kitchen full of dirty dishes (this part is non-fiction!)!! Huh?? I have never fully comprehended how this happens!

So, with the start of summer break happening this week, I decided to make a few small changes. One of them involved me going to my local Wal-Mart (yes, you know I am a Target faithful but there is a really nice, brand new Wal-Mart by my daughter's school so sometimes you have to bite the bullet, but then again, I usually come across a couple of not-necessary-but-really-want-to-have purchases there. Someone has got to keep the Walton family in their billions!). So I found some great, insulated tumblers with the acrylic straws.

I got out my hand-dandy-love-it-so-much Cricut machine and cut out some vinyl letters and voila -


Fashionable, fun, fantastic and frilly cups for the girls and I to use. I did ask my husband if he wanted one but he opted out!  The dealio is, the girls are to use these cups everyday, and only these cups. They are hand wash only so when they are done for the day, we just wash them and leave them in the dish drain for tomorrow's beverages.


Yes, you also know I LUURRVVEE my holidays and found these little gems in Ross, I think?? I went in looking for a basket my sister wanted (no basket) but left with these. We will pull these out July 1.

These were inexpensive to make, and I truly hope, will cut down on cups/glasses/beakers/chalices/goblets we use during them summer.

If you are not as talented as me Cricut, you can find them on-line with even fancier monograms at my favorite on-line store www.toochicgifts.com.

They have more styles, fancier personalization and you can even add graphics with their tumblers.

So hopefully this will help me, and maybe you, cut down on some chores when those darn kids invade our homes and take away from my bon bon eating time!!

Progress is majorly happening on my minor home renovations but that is for another post!

Tuesday, June 5, 2012

Work Has Begun . . .

Ok, so my Go To Guy (GTG) arrived with his helper and they started on a couple projects before beginning the ceiling.

I haven't shown these photos to you yet because I keep waiting to be completely done and do a major - Ta-Da - reveal, but at the rate I am going, that won't happen until I file for social security!! Here's the scoop in a nutshell. This was a guest/miscellaneous room. With the exception of some dogs, this room wasn't used much! The girls had a homework station downstairs in the playroom but they didn't like being down there on their own. We decided to make this room an office x 3.

This closet turned nook, served as a bar.
I added my desk to go in the nook.
My first (and last) attempt at painting Chevron stripes.
Was going to do the whole closet but decided it would be too busy
and too much work. Project done! 
I have added more to the walls and got a lot more organized.
I will show that off in the final Ta-Da!

They added power to my closet-turned-desk-nook. This took them 5 minutes but will save me a lot of aggravation!  I hated having the cords visible as you can see in the above photo.


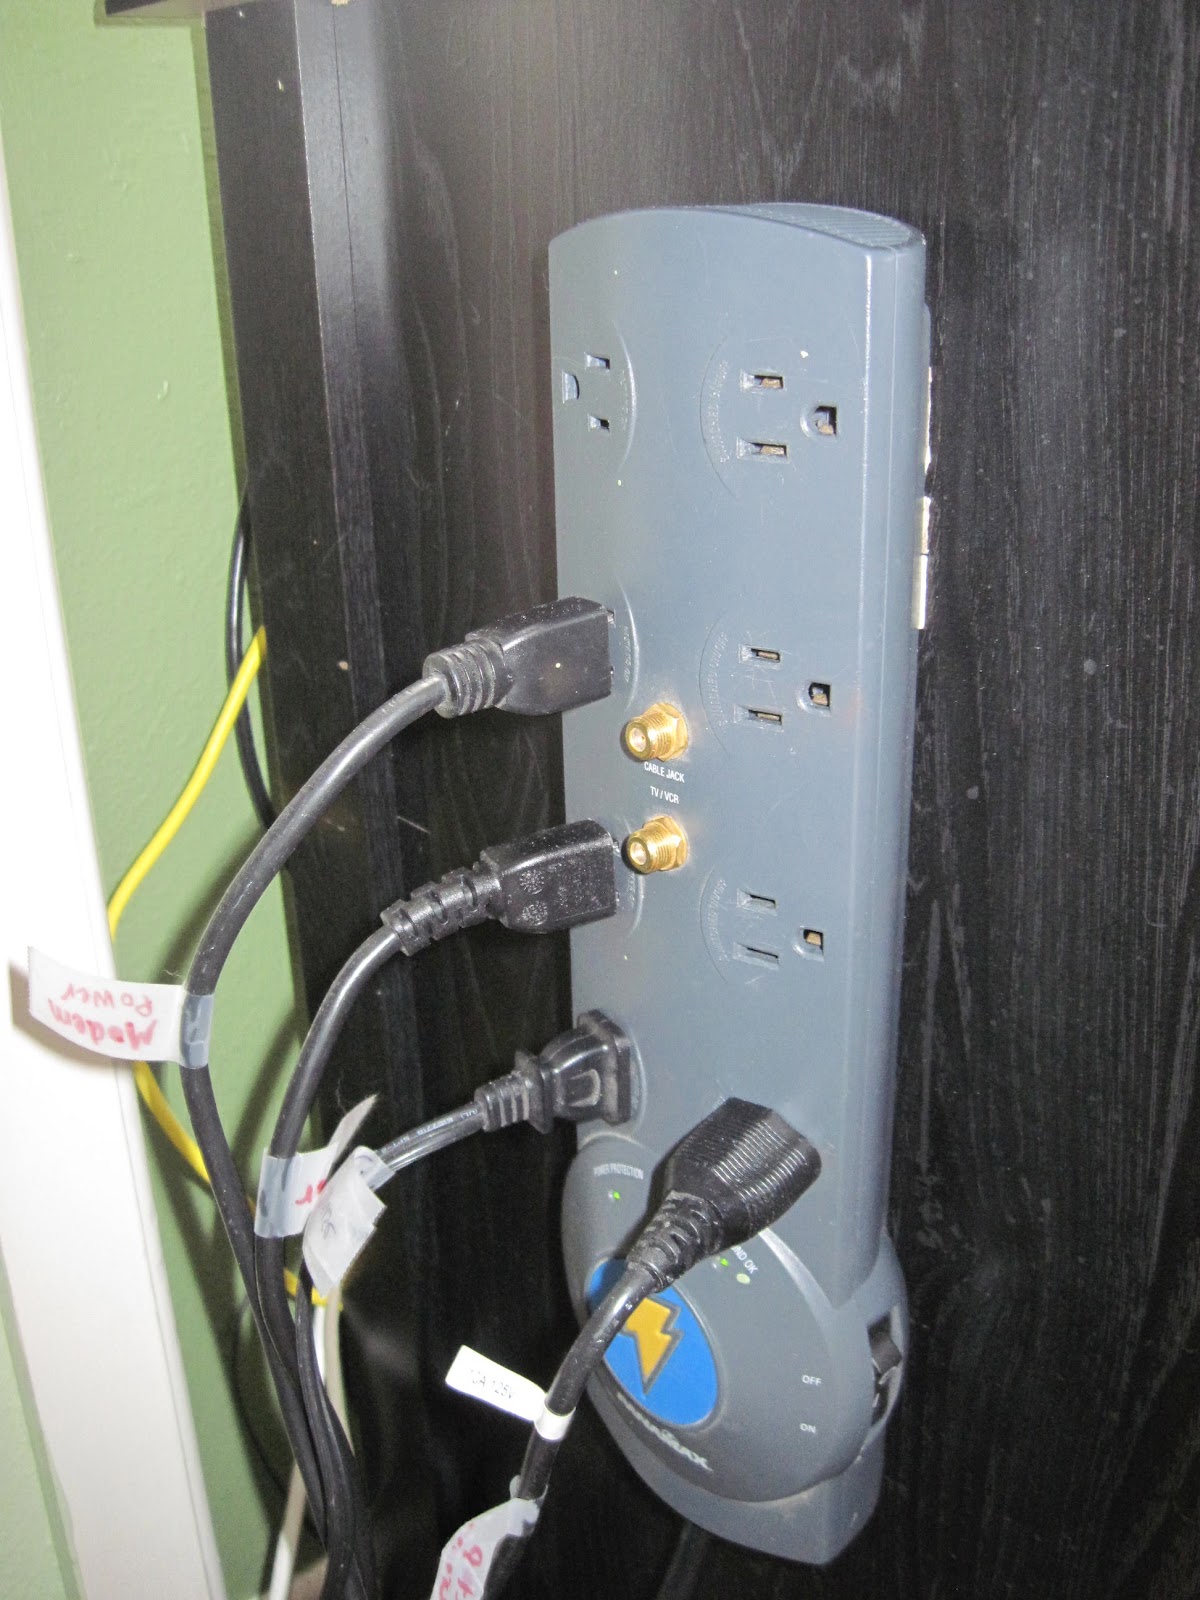
As you can see, they also hung my surge protector/multiple outlet holder on the side of my desk. This is the side that has the opening. I previously labeled each cord. This is crazy convenient! No more climbing under the desk, pulling each cord to see which one moved. Genius if I do say so myself (but it wasn't my idea, thanks GTG!). Three shelves are also going to be added in the left corner of the closet.

Here's the room with the doors and trim now removed.
Yes, recovering the pink desk chair is on my To Do list.

Remember, here's the room before.
Much more open now. Looking to add glass doors down the road.
Just have to find the right set. 

 And the ceiling work has begun.
Of course, the air vent was in the way so we had to move that.
Luckily, my GTG was prepared for that and had
everything he needed.

The wood paneling is on, and the beams that are currently there,
are supports for the real beams that will be installed.

 First beam up!


We decided to add just a single plank, not a beam around the outside.
I think it will work perfectly.


Unfortunately, my GTG had another project he had to work on this afternoon but they will be back tomorrow and hopefully can knock out the rest of the ceiling. I, unfortunately, have some more staining to do, but I keep reminding myself, the money I save doing the staining myself, can help me afford more projects. I keep saying that over and over again!


So, hopefully you like the progress as much as I do. Can't wait to show you the finished work but that will be for another post!